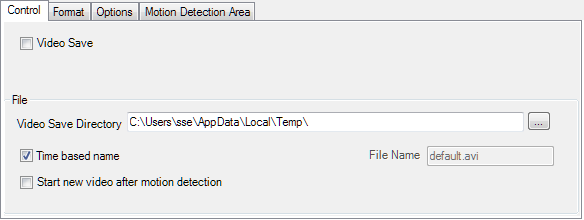
Video Save
with the VideoCapX capture interface
File Options

- select the location for the video
- eigther use Time based name or enter a file name
- set or uncheck the maximum recording time
- set or uncheck the maximum recording size
Recording Options
all recording options record until
- time limit is reached or
- size limit is reached or
- Stop Record button is pressed
Real Time
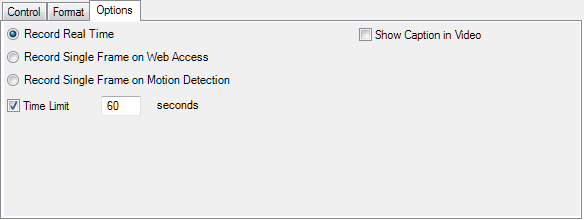
records as captured by the capture interface
Web Access
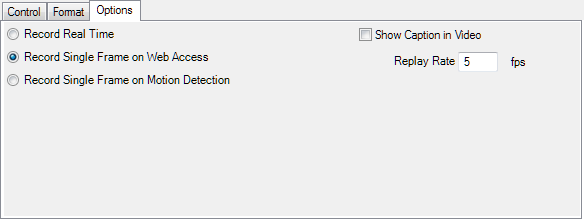
Records every image requested by the web server - see what your viewers were looking at
Motion Detection
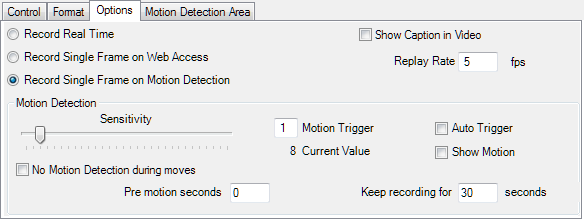
Records detected motion. The Motion Trigger determines the sensitivity of the motion detection.
Auto Trigger will capture images with much more motion than average
If you want to keep recording after the motion event, set the Keep recording value > 0
Recording Format
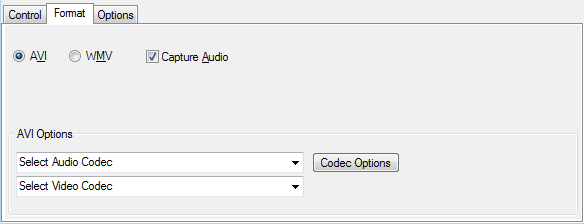
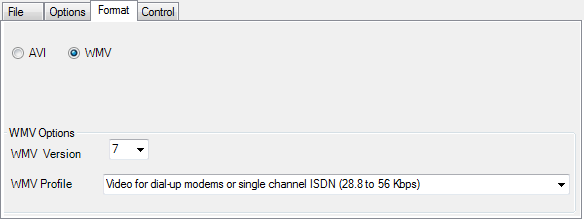
Select Format and Codecs for the video file. If you record Real Time, you may select to record audio as well, the audio device selected for the Video Server will be used.
Control
Start/Stop the recording here.
If you save the camera settings with recording active, the video recording will be started next time you load the capture interface.